Photos by Dan Mouradian, Logan Reed, Barbara Mouradian, Brian Kristmann
Last year my wife, Barbara, got me classes at Chicago School of Woodworking as a birthday gift. The classes for new students are each 9-week courses one day a week for a few hours. In 101, students build picture frames, with hand tools and no experience is needed. If you choose to continue to 102, you will build a craftsman style end table, you will need to supply wood but the school works closely with local suppliers and offer a “package deal”. Finally 103 focuses on a larger entry table in the Arts and Craft style, with a drawer. Graduates of 103 may then use the shop for personal projects at an hourly rate, in addition to specialized weekend seminars and classes through the year including everything cabinet making, speaker building, musical instrument building to CAD drawing.
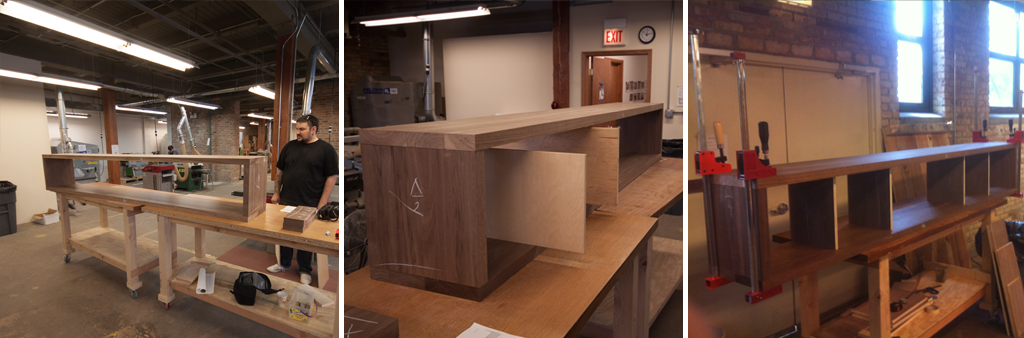
The open class was my hidden agenda all along. I have had the design for a credenza in my mind for several years and always lacked the tools/skills to build it and the finances to custom order it. I had to build it and taking the courses at the school would give me access to the tools and I would learn the skills to build it. In addition to gratification of having made it myself. As I was finishing 103 it was time to start the design process on the credenza, I started by thumbnailing and scale drawing the credenza.
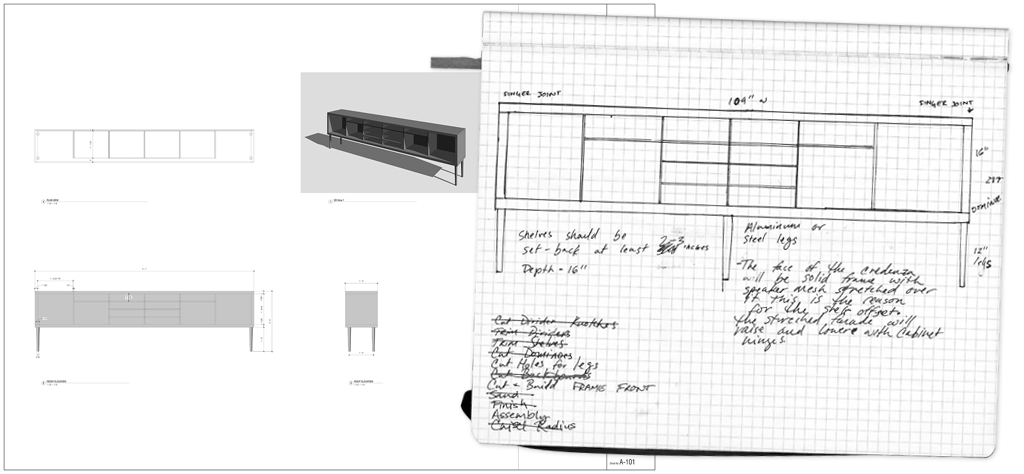
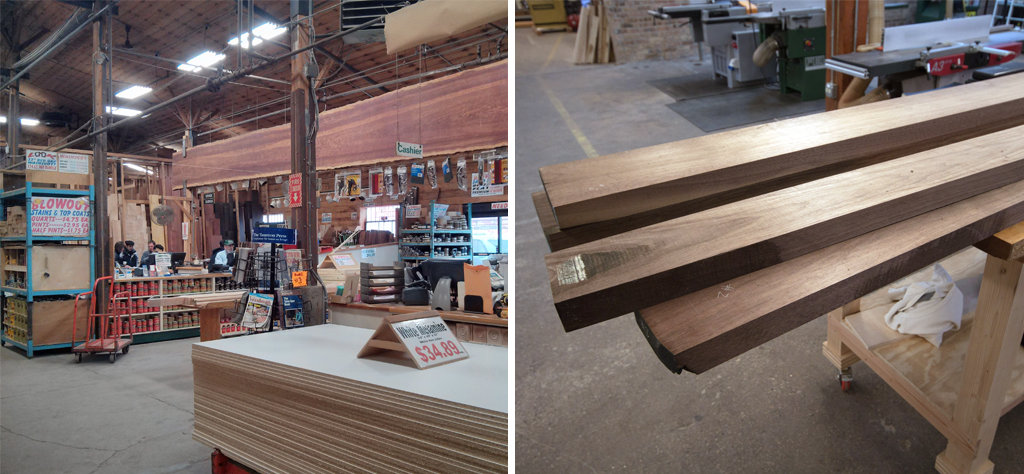
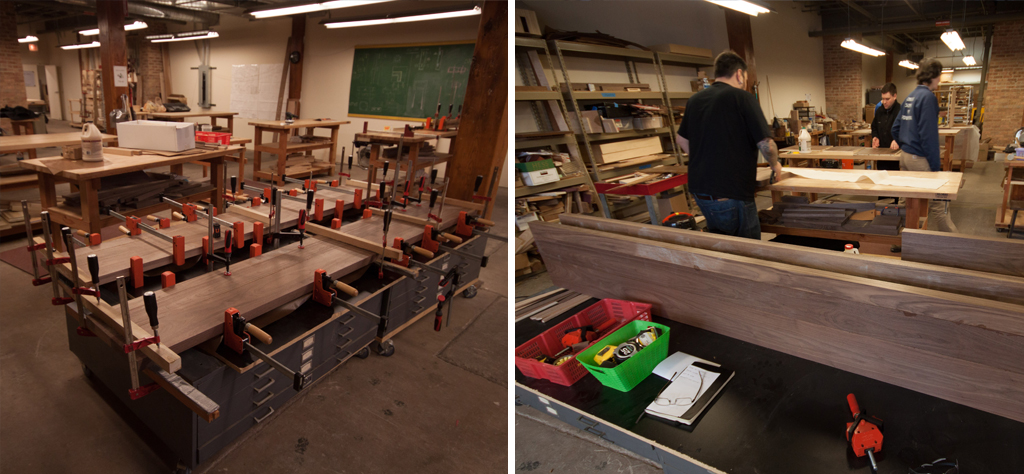
Once i had settled on a configuration I measured the components i would be adding to it, and the wall space it would occupy, and began drawing for scale. I was going to need help. A good friend of mine and design/build architect Logan Reed was kind enough to translate my scale drawing and notes into cad drawings and assisted me in all phases of the build. Walnut stock was purchased at Owl Hardwood in Des Plaines.
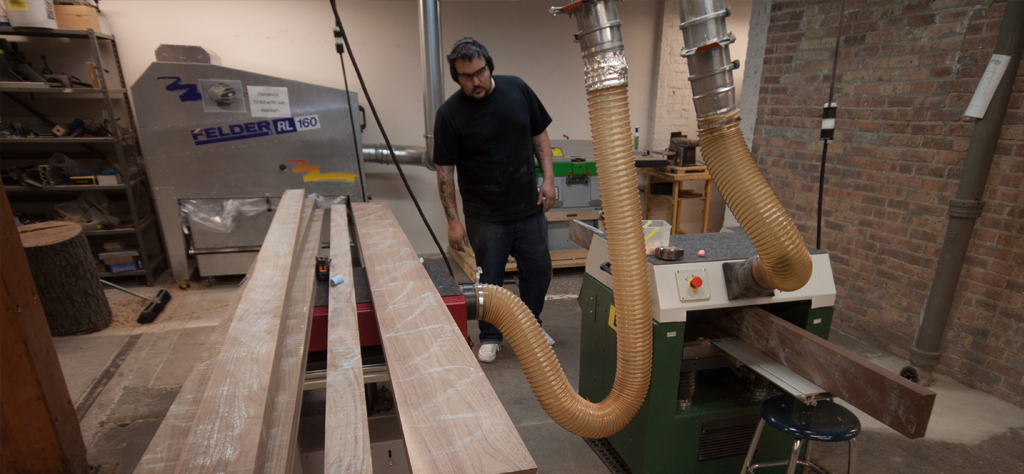
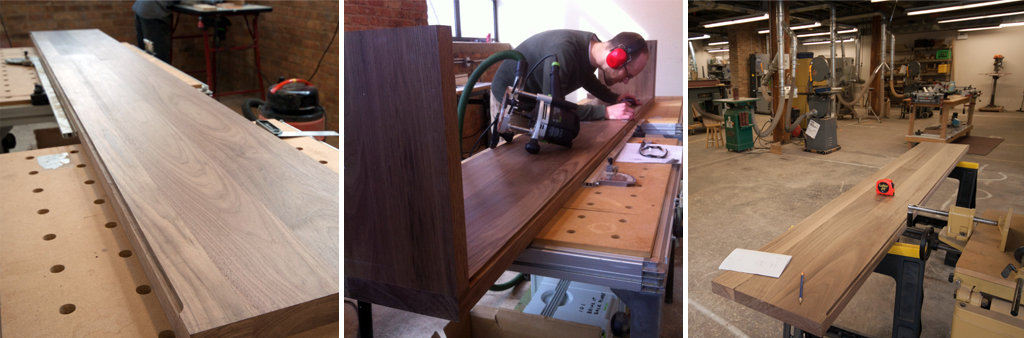
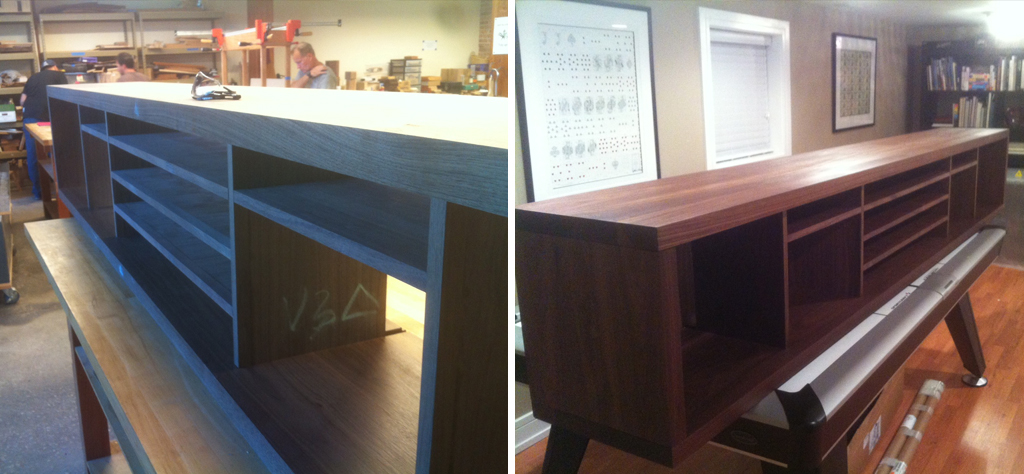
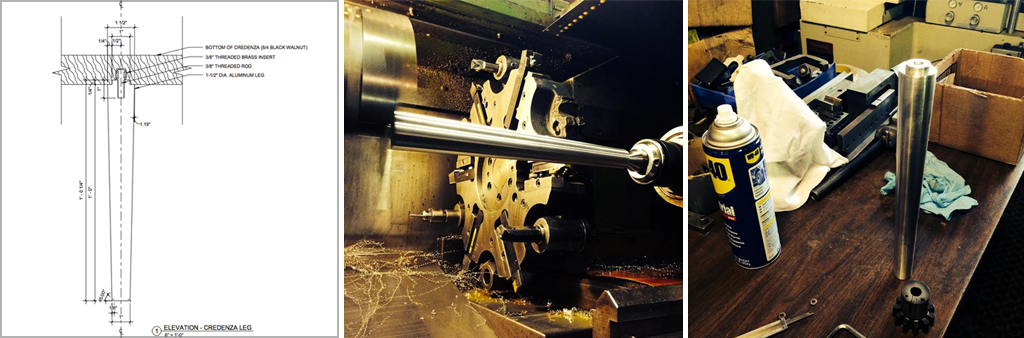
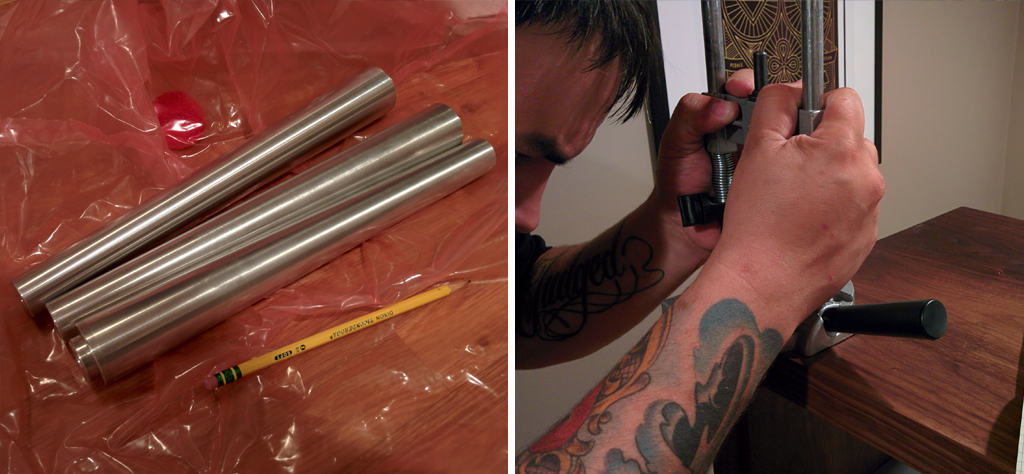
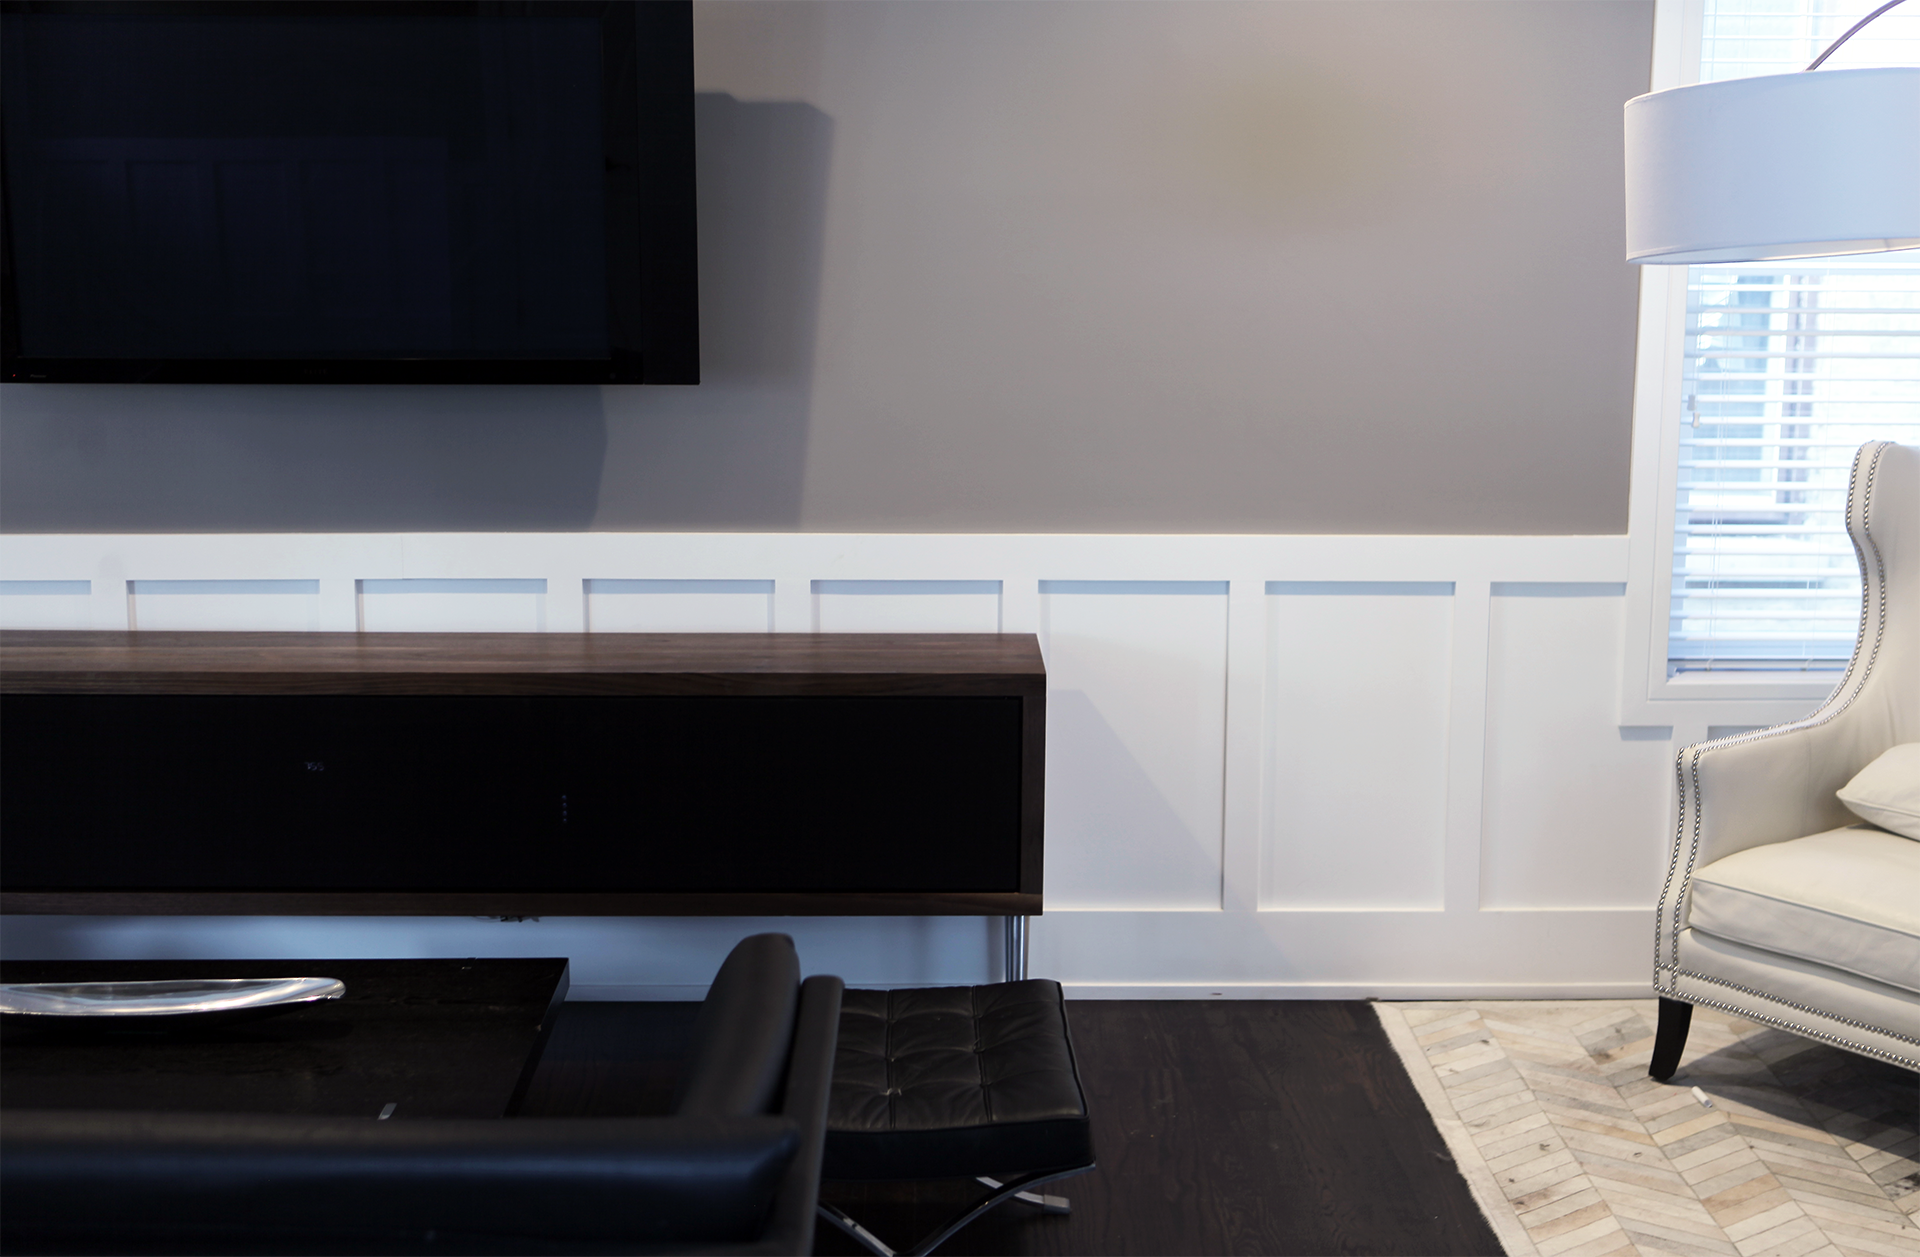
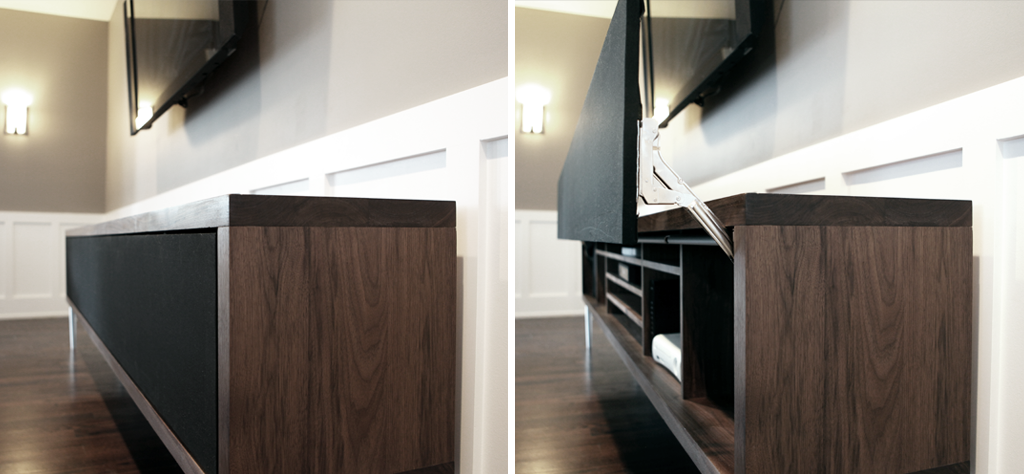
Because of its size, everything took longer, ripping, cutting, jointing, planing, gluing, all of it was a fight. Luckily I had Logan and the staff to assist. The design takes cues from mid-century modernism, and vintage amplifiers. I designed the walnut credenza to frame a solid panel with stretched grill cloth so that RF rays would penetrate it, as opposed to a wooden front panel, which would block the remote control signals. The panel is attached with elevating hinges to maintain the flat look as it was lifted. It is finished off with Aluminum legs that have a slight taper. Thank you again, Barbara, Logan and Chicago School of Woodworking.
Next time I’m making something bit smaller. Enjoy.